WORDPRESSの関連記事の作成方法

2025年5月20日 PHP,関連記事の作成

STEP1 関連記事が必要な理由


WordPressで関連記事を表示する方法は「プラグイン」とアドセンスの「関連コンテンツ」がありますが、「プラグイン」はサイト全体のスピードが落ちますし、「関連コンテンツ」は取得するハードルが高いです。

このようなサイトスピードを意識している方は、なるべく自作で実装する必要がありますので、本記事では当ブログでも使用している自作の関連記事を紹介していこうと思います。
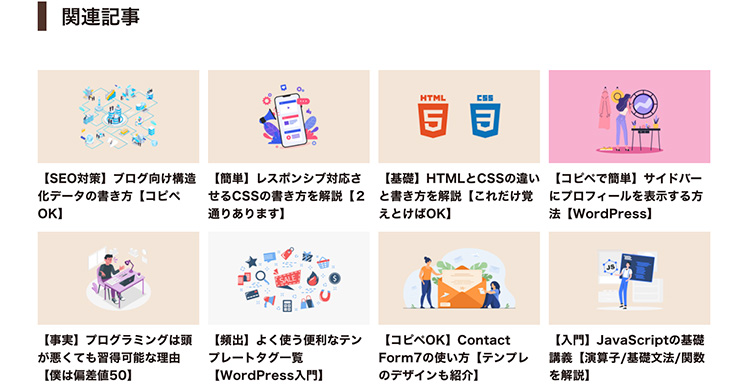


STEP2 画像のような関連記事を作る


関連記事を表示させるのは、記事ページだと思いますのでsingle.phpの本文のしたあたりに下記のコードをコピペしましょう。


<!-- 関連記事 -->

<?php if(has_category() ) {
    $catlist =get_the_category();
    $category = array();
    foreach($catlist as $cat){
        $category[] = $cat->term_id;
    }}
?>

<?php $args = array(
    'post_type' => 'post',
    'posts_per_page' => '8', //表示させたい記事数
    'post__not_in' =>array( $post->ID ), //現在の記事は含めない
    'category__in' => $category, //先ほど取得したカテゴリー内の記事
    'orderby' => 'rand' //ランダムで取得
);
$related_query = new WP_Query( $args );?>

<aside class="related_post">
    <h3>関連記事</h3>
    <ul class="related_post_container">
        <?php while ( $related_query->have_posts() ) : $related_query->the_post(); ?>
        <li>
            <a href="<?php the_permalink(); ?>">
                <!-- アイキャッチ表示 -->
                <div class="related_thumb"><?php the_post_thumbnail('medium'); ?></div>
                <!-- タイトル表示 -->
                <p class="related_title"><?php the_title(); ?></p>
            </a>
        </li>
        <?php endwhile; ?>
        <?php wp_reset_postdata(); //最後に記事のリセット?>
    </ul>
</aside>


①記事と同じカテゴリーの記事を取得


<?php if(has_category() ) {
    $catlist =get_the_category();
    $category = array();
    foreach($catlist as $cat){
        $category[] = $cat->term_id;
    }}
?>

get_the_categoryで記事のカテゴリーを取得して、そのカテゴリーの全記事を配列で取得します。


②ランダムで8記事を取得する


<?php $args = array(
    'post_type' => 'post',
    'posts_per_page' => '8', //表示させたい記事数
    'post__not_in' =>array( $post->ID ), //現在の記事は含めない
    'category__in' => $category, //先ほど取得したカテゴリー内の記事
    'orderby' => 'rand' //ランダムで取得
);
$related_query = new WP_Query( $args );?>

先ほど取得した、カテゴリーの記事(変数category)を使って、同カテゴリーからランダムで8記事取得します。記事数は自由に変更できますので、4記事にしたい場合は8の部分を4に変更すればOKです。


③記事を表示させる


have_posts() ) : $related_query->the_post(); ?>
  • 最後に取得した記事をループで表示させています。

    取得した記事を変数related_queryに格納してあるので、それを使って全記事表示させています。HTMLの構造は自由にいじってもエラーは起きないと思いますので、自由に変えてみてください。


    ④関連記事のデザインコードを配布


    /* 関連記事 */
    .related_post{
        width: auto;
        margin-bottom: 40px;
    }
    .related_post h3{
        font-size: 20px;
        font-weight: 600;
        border-left: 9px solid #51342B;
        text-align: justify;
        margin-bottom: 40px;
        padding: 0 15px;
        box-sizing: border-box;
    }
    .related_post_container{
        width: auto;
        list-style: none;
        display: flex;
        flex-wrap: wrap;
        justify-content: flex-start;
    }
    .related_post_container li{
        width: 24%;
        margin-right: 1.3%;
    }
    .related_post_container li:nth-child(4){
        margin-right: 0;
    }
    .related_post_container li:nth-child(8){
        margin-right: 0;
    }
    .related_post_container li:nth-child(n+1):nth-child(-n+4){
        margin-bottom: 10px;
    }
    .related_post_container a{
        display: flex;
        flex-direction: column;
        color: #1f1411;
    }
    .related_thumb{
        width: 100%;
    }
    .related_title{
        font-size: 12px;
        font-weight: 700;
    }
    @media (max-width: 550px){
        .related_post h3{
            font-size: 18px;
        }
        .related_post_container{
            flex-direction: column;
            flex-wrap: nowrap;
        }
        .related_post_container li{
            width: auto;
            margin-right: 0;
            margin-bottom: 10px;
            border: 1px solid #E8E8E8;
        }
        .related_post_container li:nth-child(n+1):nth-child(-n+4){
            margin-bottom: 10;
        }
        .related_post_container a{
            flex-direction: row;
            justify-content: space-between;
            align-items: center;
        }
        .related_thumb{
            width: 43%;
        }
        .related_thumb img{
            vertical-align: bottom;
        }
        .related_title{
            width: 55%;
            font-size: 12px;
        }
    }
    上記のコードをスタイルシートにコピペして完了です。

    また、リセットCSSを使っていないとデザインが崩れるかもなので、リセットCSS推奨です。軽量のリセットCSSを「【コピペOK】リセットCSSとは?必要性を解説【最低限は必要です】」で配布しておりますので、必要な方はどうぞ。

    以上で関連記事の実装は完了となります。 簡単に実装できますので、自作に挑戦したいという方はやってみましょう。それでは。